We recently tackled our first project – a bathroom makeover. This room was a priority because it is the bathroom used most frequently by our guests. We don’t have a true master bathroom, instead it’s a jack-and-jill style that connects to the main hallway, as well as our bedroom.
When we moved into our house, it was basically move in ready. It had been painted, had new carpet downstairs, etc. It even has appliances from this century (hallelujah)! However, because it is an older home – a lovely 1970s vintage split level, it wasn’t long before our wishlist of cosmetic updates started growing.
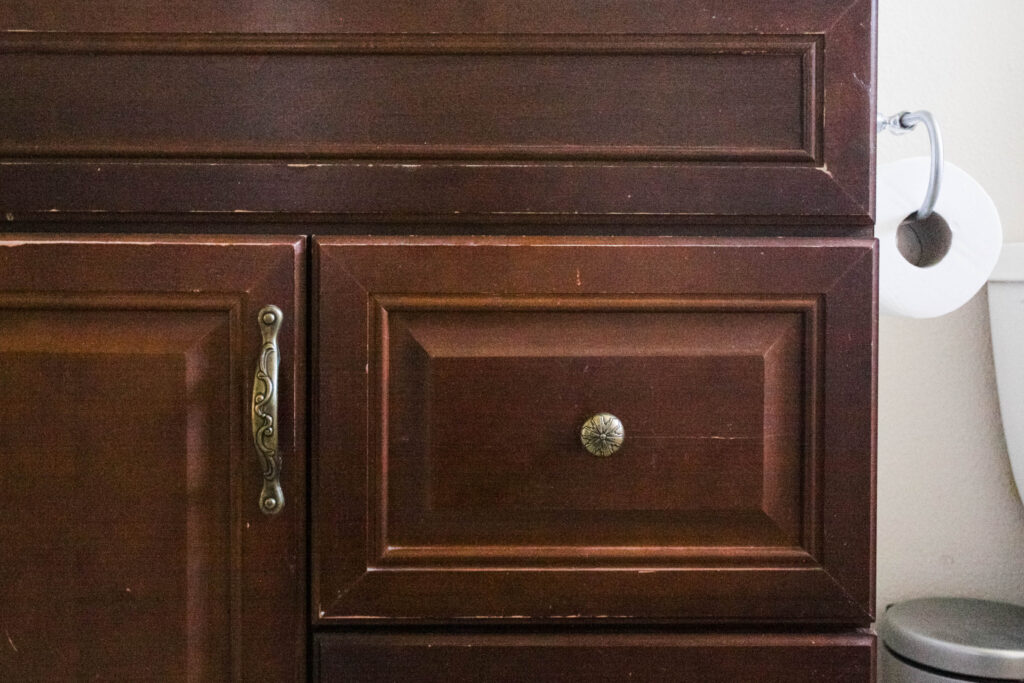
Today, I’m sharing how we updated our upstairs bathroom on a budget, and how we went from this
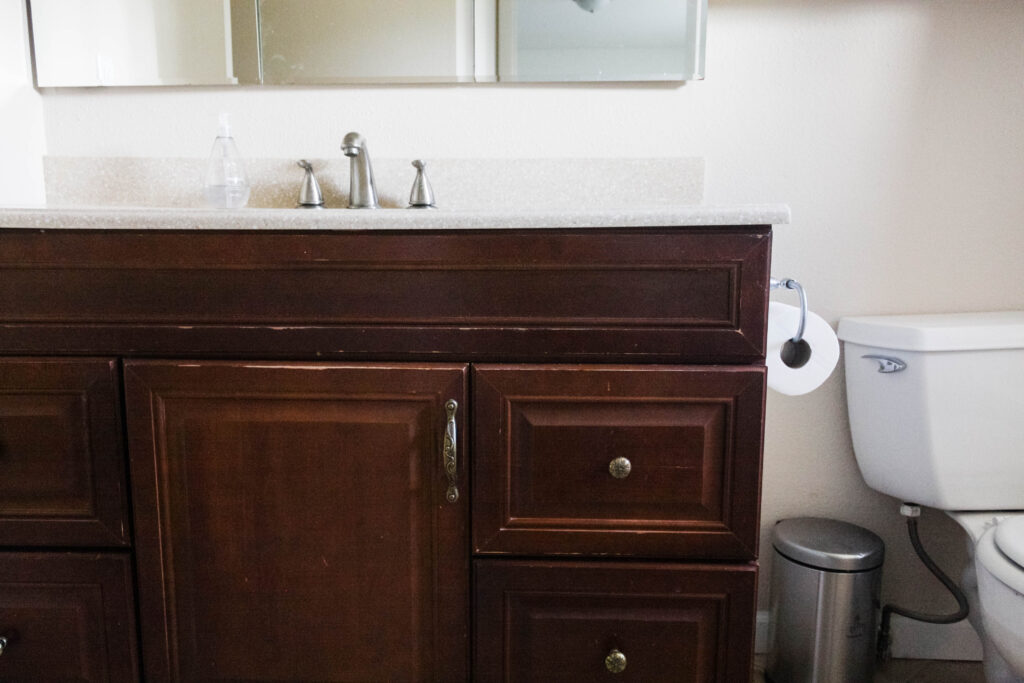
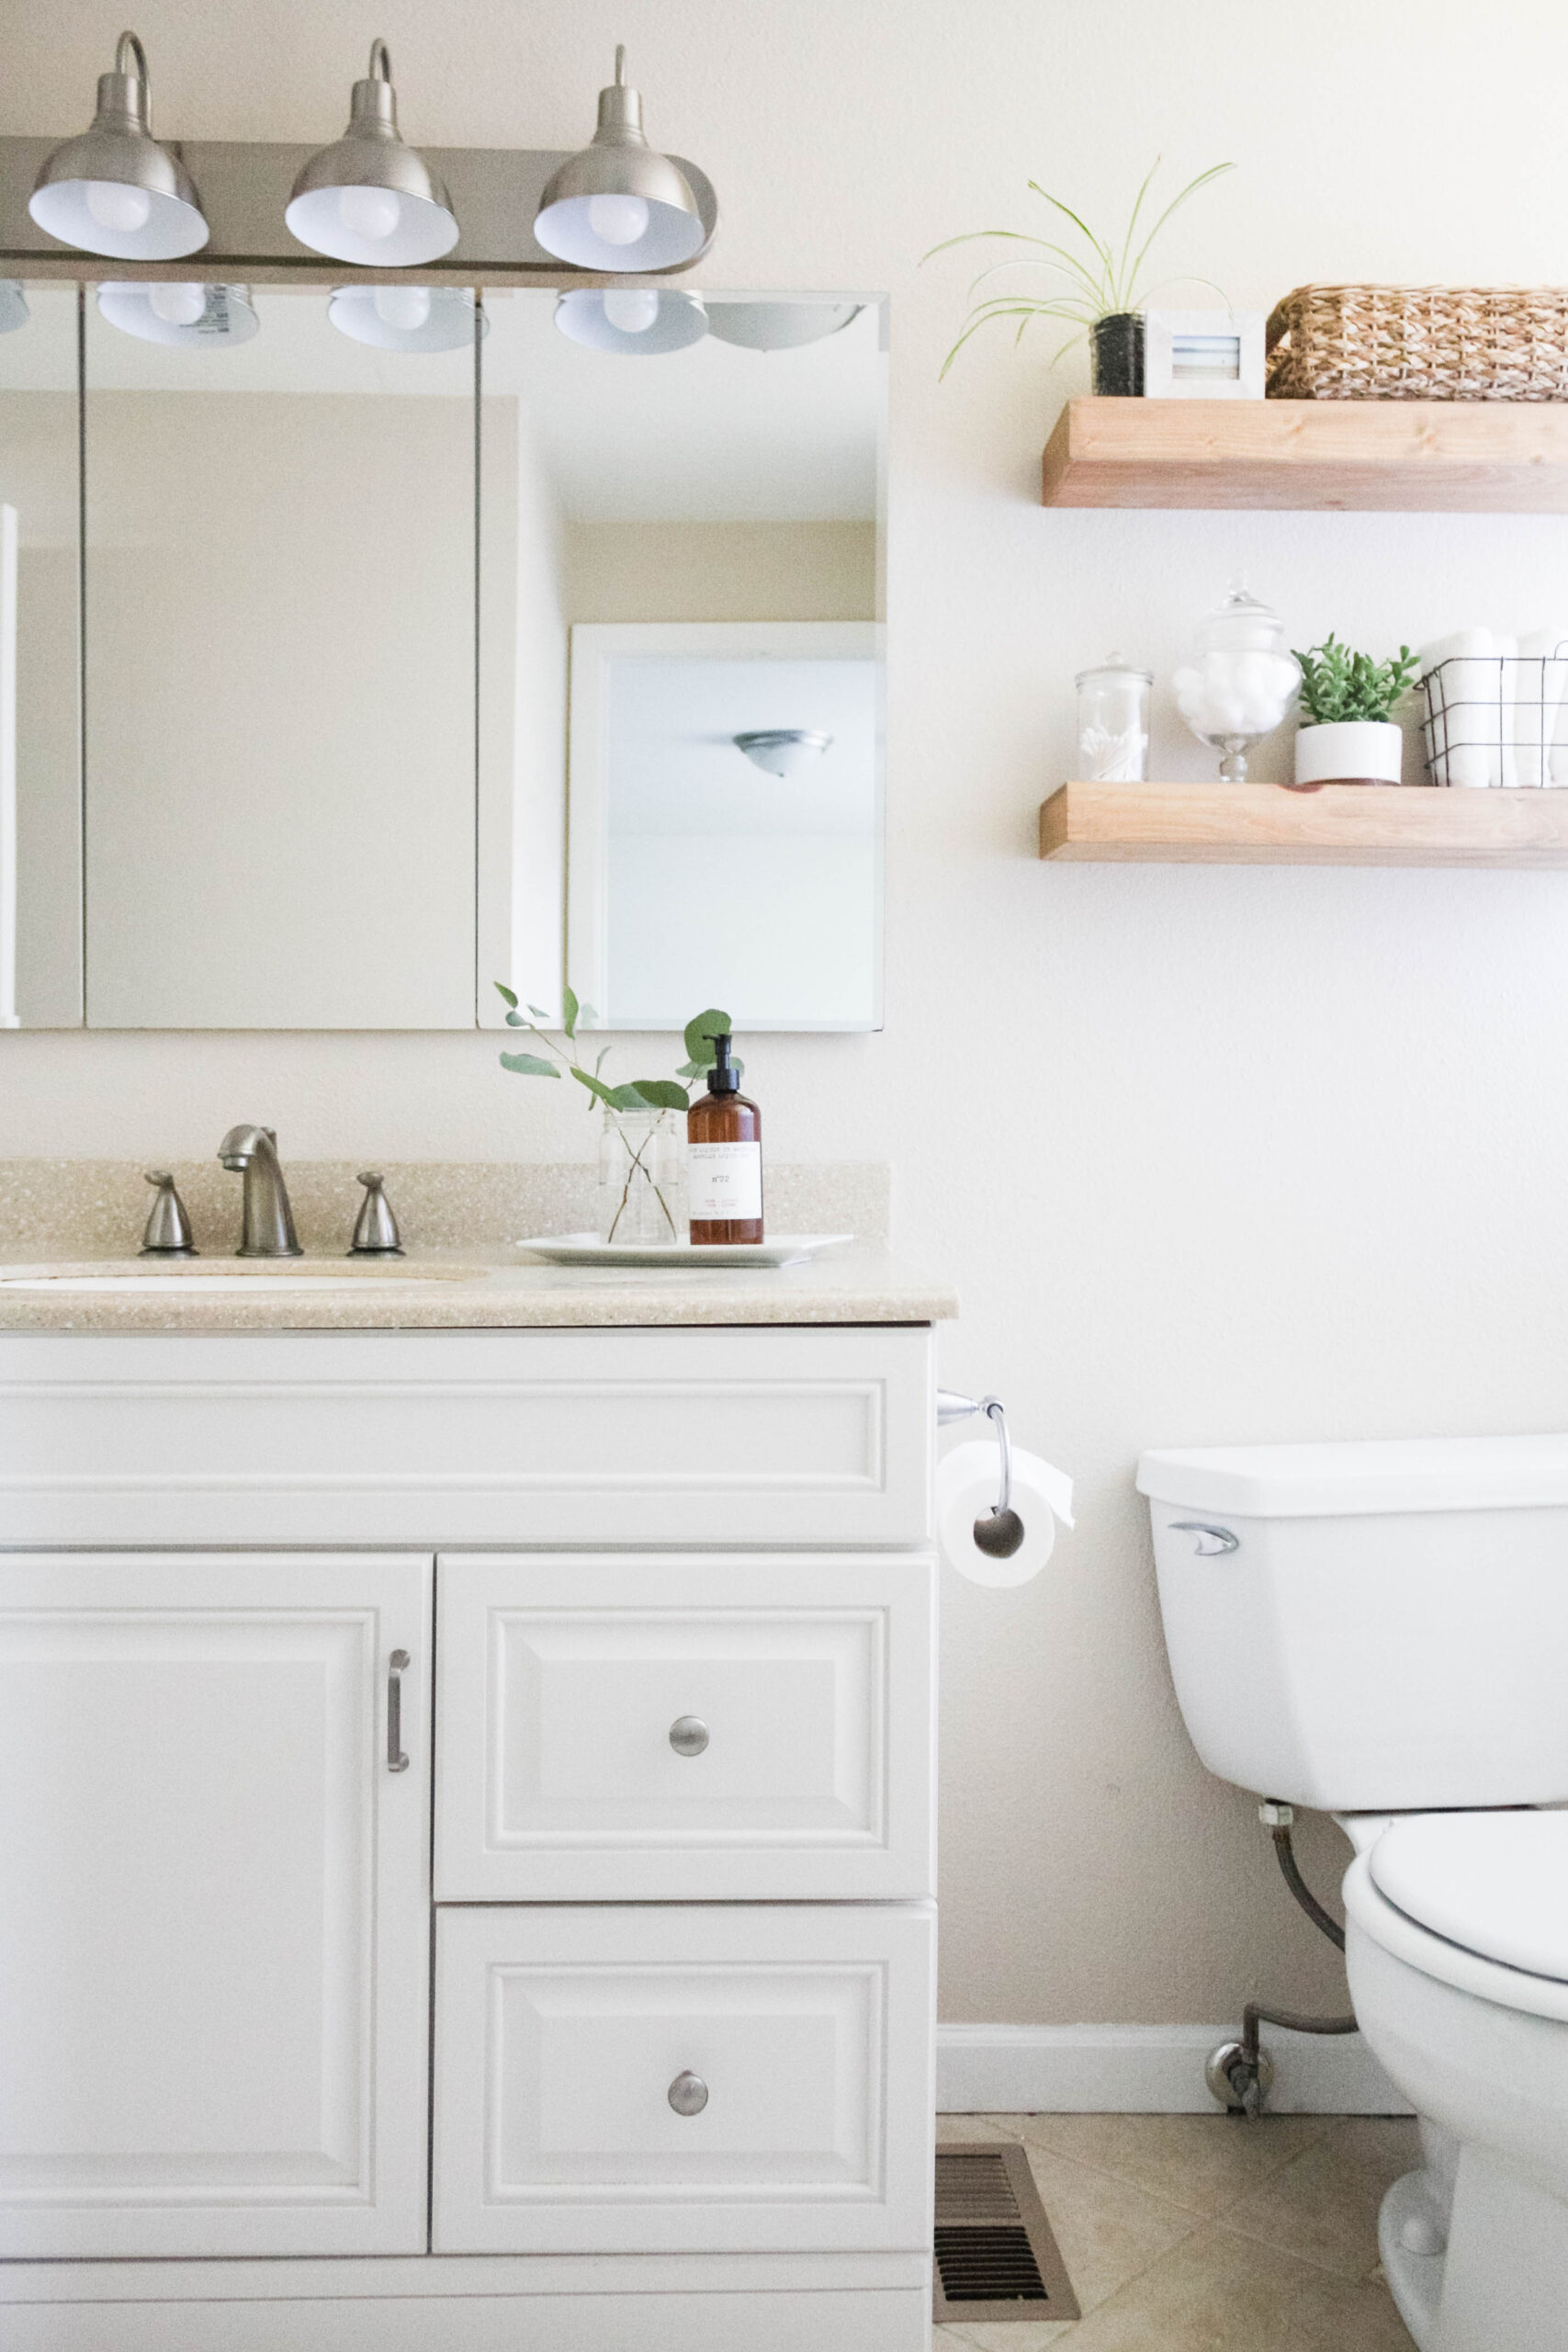
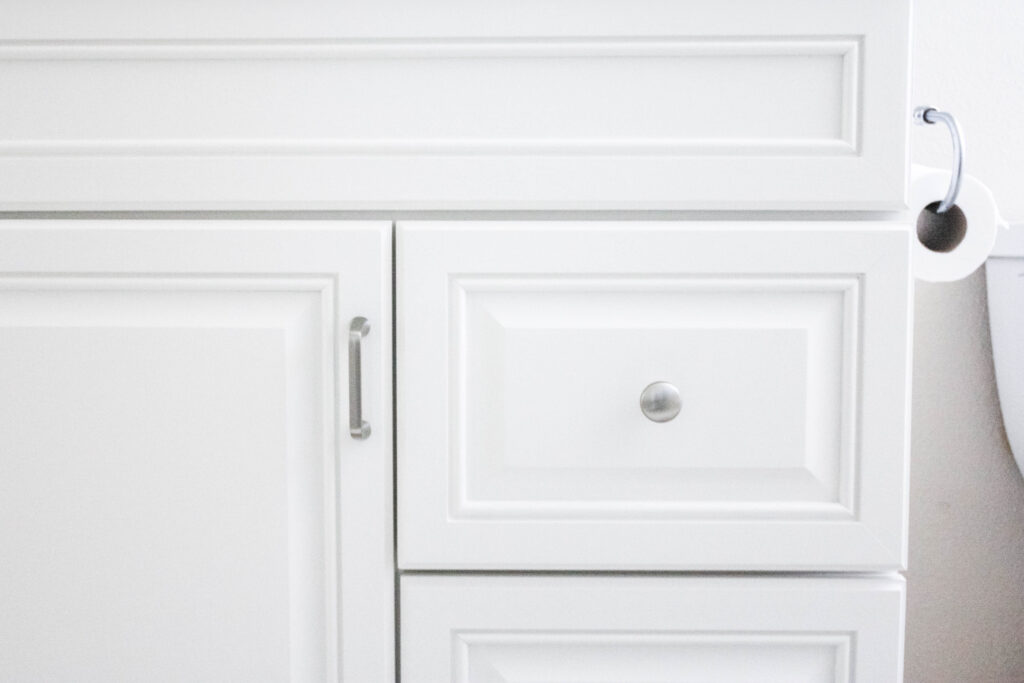
To this

It only took four simple steps: paint the vanity, add new hardware, change the light fixture, and add wood shelves.
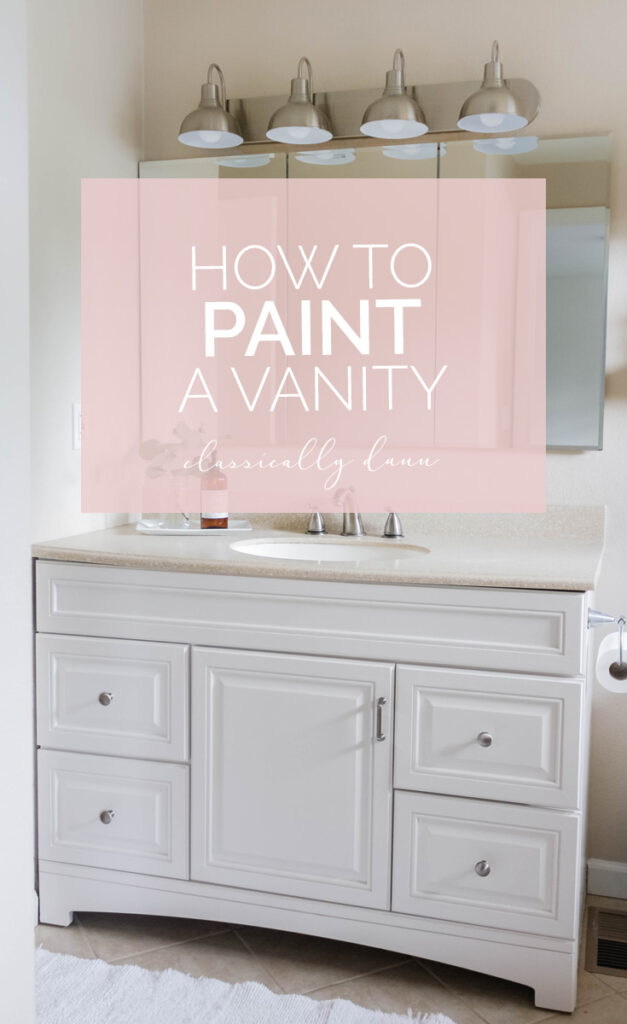
Sure we could have spent thousands of dollars on new tile for the shower and a new vanity, but both are in good shape and we just didn’t see the need for that when we have other projects in mind that will be a bit more costly. Scroll down to see more photos, and detailed step by step instructions for how we achieved this look – all for less than $300.
How to Paint a Bathroom Vanity
Supplies:
- Fine grit sandpaper or sanding sponge
- High density foam roller
- Foam brushes
- Paint brush
- Paint tray (optional)
- Zinsser Primer
- Paint
- Painters Tape
Step 1: Using a mild cleanser, remove any oil, grease, toothpaste etc from the surface. This is important to make sure your paint goes on smoothly and so that it will adhere to the surface well.
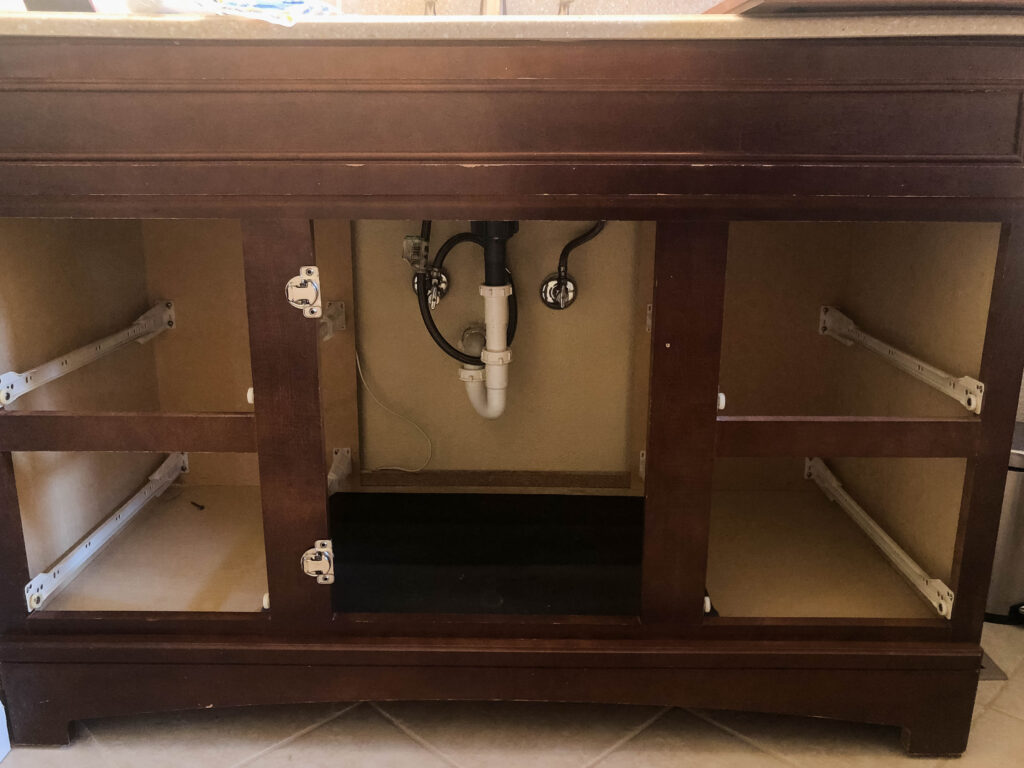
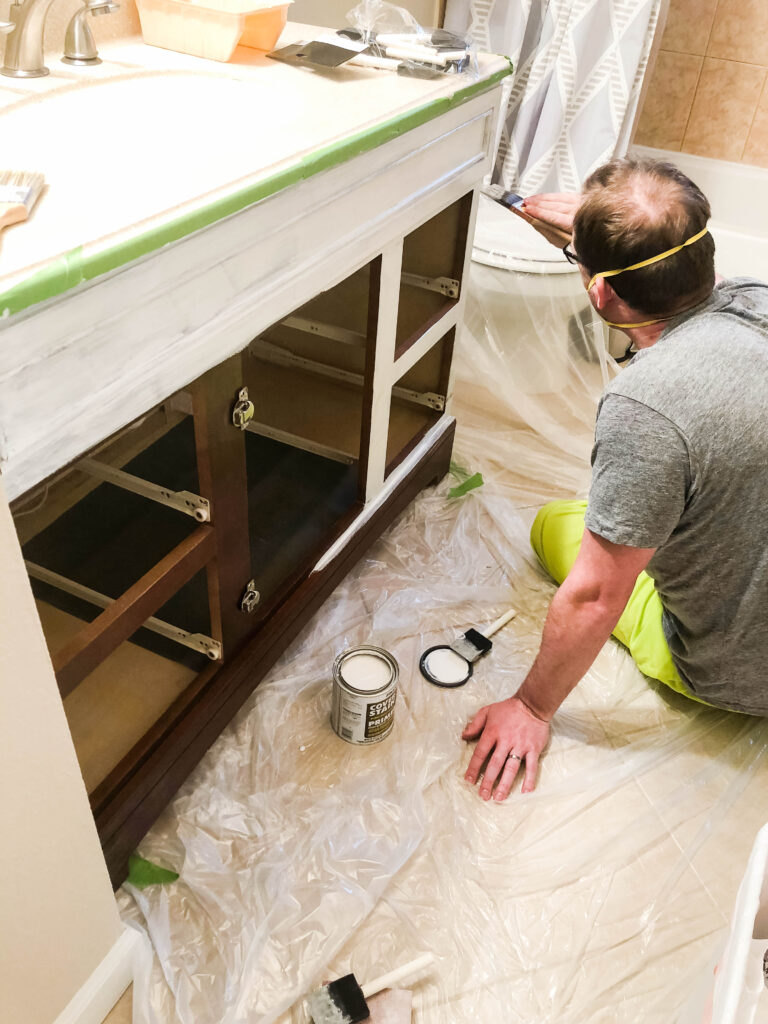
Step 2: Remove all cabinet doors, drawers, and hardware.
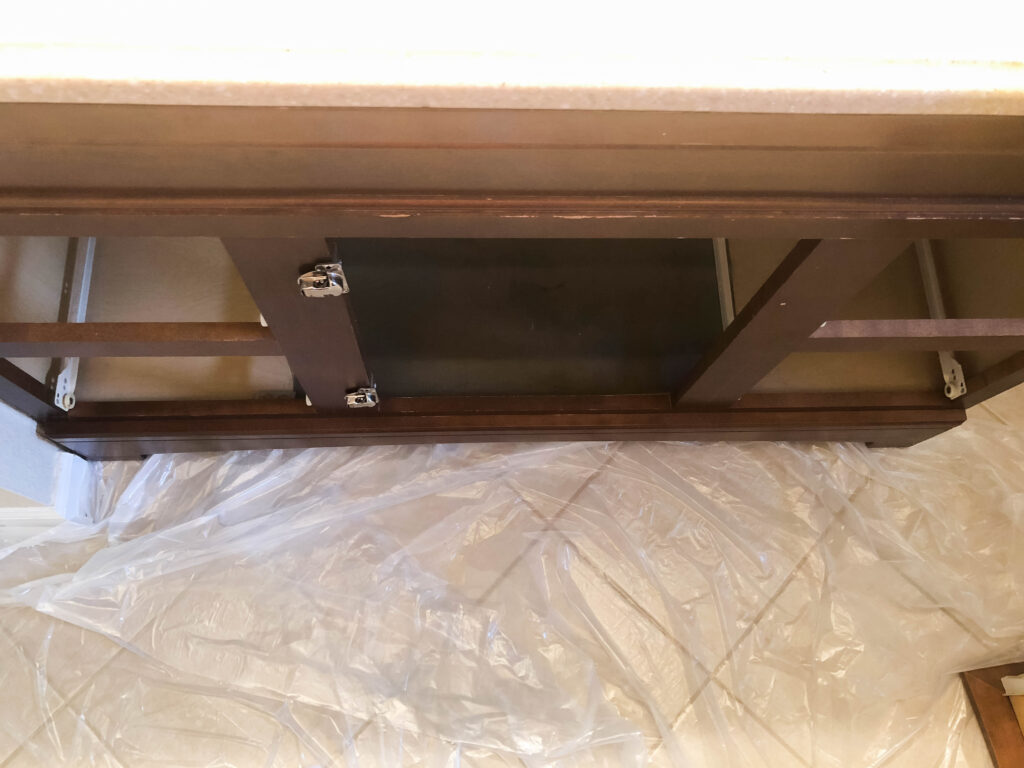
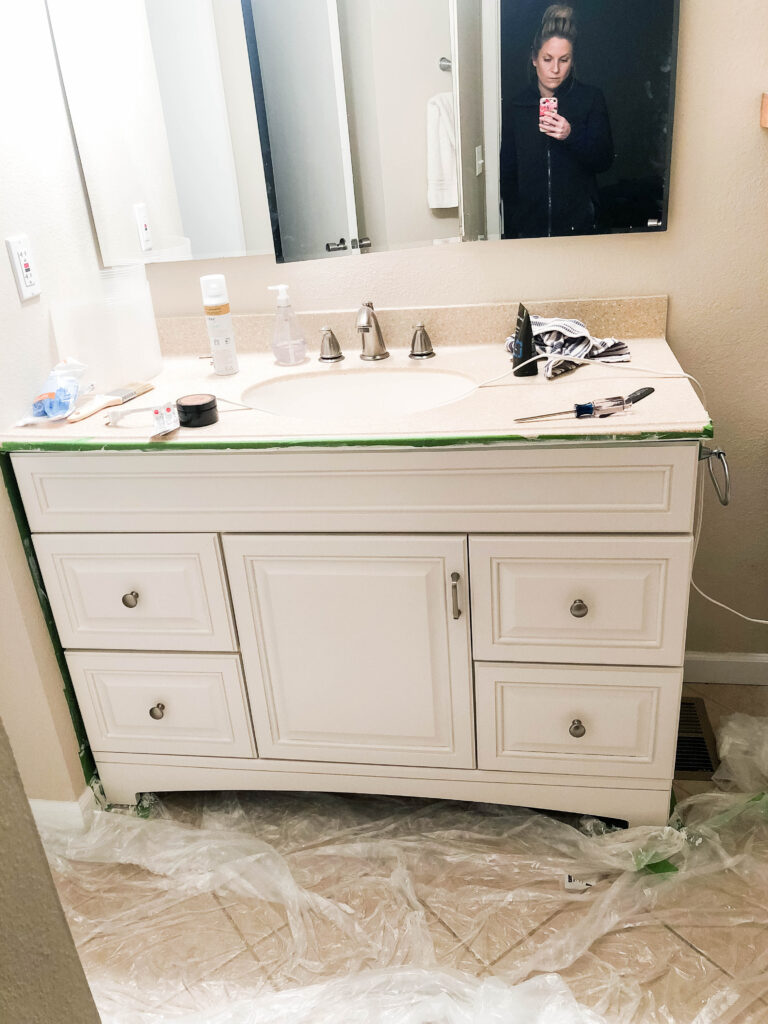
Step 3: Prep the space for sanding and painting by placing a drop cloth on the floor and adding painters tape along all edges and seams where you do not want paint.

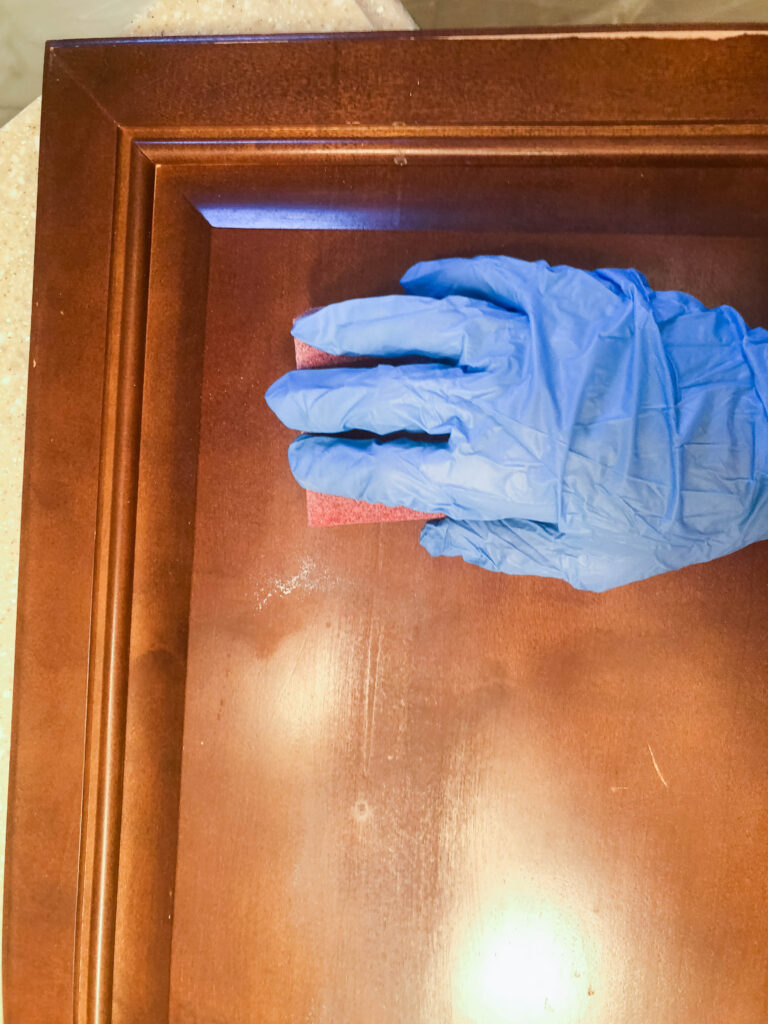
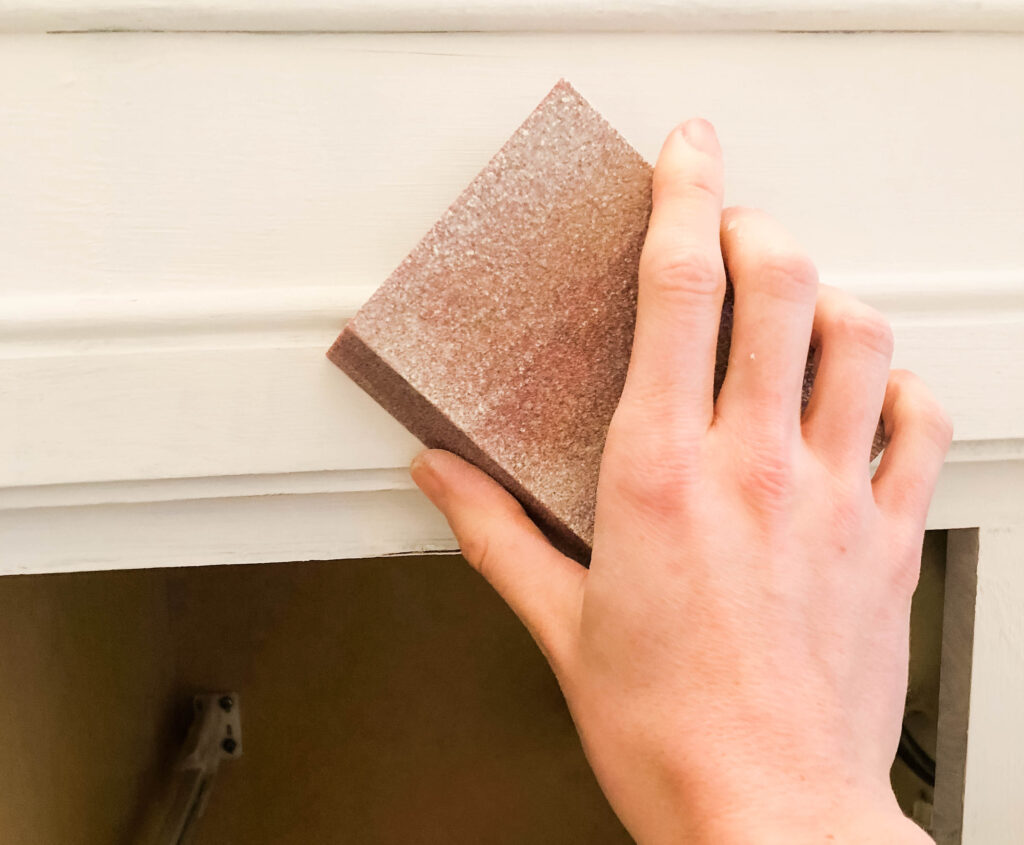
Step 4: Lightly sand the drawers, cabinets, and frame of the vanity to remove any imperfections and divots in the wood. Then, using a vacuum, followed by a damp cloth, remove any remaining dust.
Step 5: Now it’s time to apply your primer. We used one coat of Zinsser Cover Stain Oil-Based Interior/Exterior Primer and Sealer, which worked great! I primed the drawers and cabinet door while Casey primed the frame. Make sure to follow the instructions on the can for drying times.
Step 6: Once dry, lightly sand everything again to make a more smooth surface for even application of your paint. Again, make sure to remove all dust before applying the first coat of paint.
Step 7: Paint! We used Behr alkyd semi-gloss enamel, which works great for painting cabinets. We had the paint department mix the color Swiss Coffee for us. Originally, I wanted WHITE, but that just didn’t make sense since the sink was an off white. If you need to, bring home a sample or a color swatch to make sure you get the right color.
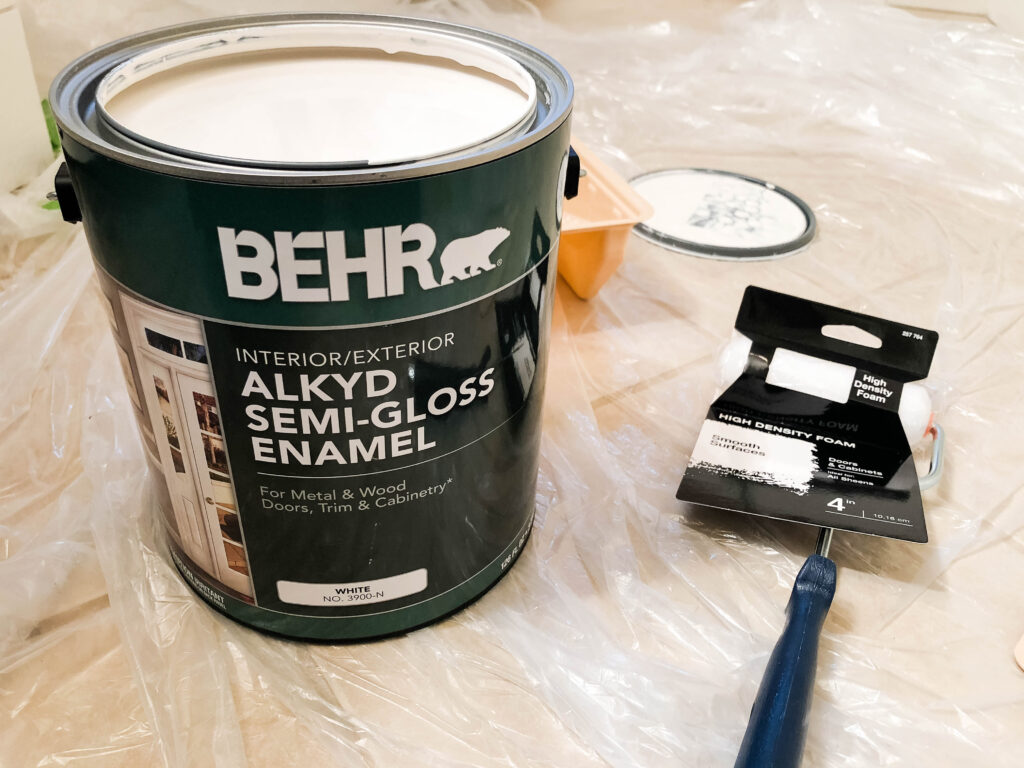
Again, make sure to follow the instructions for dry time between coats. We ended up using two coats of paint and were satisfied with the result.
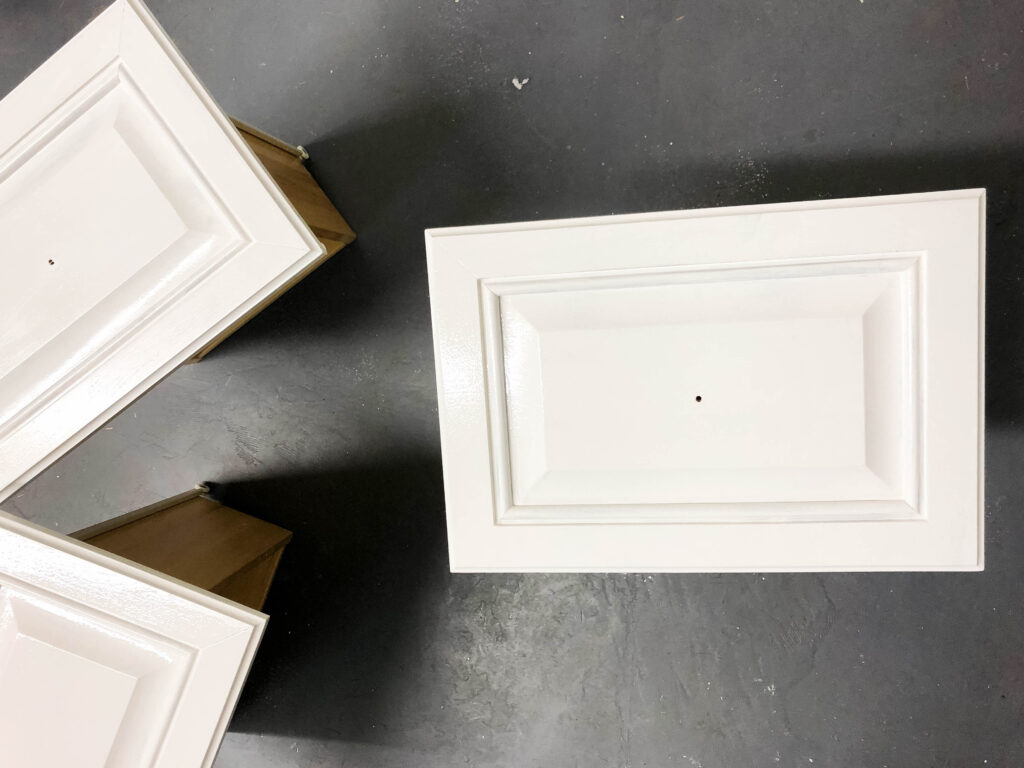
Tip: I found when painting the drawers and cabinet faces, it was helpful to use a foam brush to paint in the grooves first, then follow up with the high density foam roller on the flat surfaces. This allowed for a much more even, smooth finish.
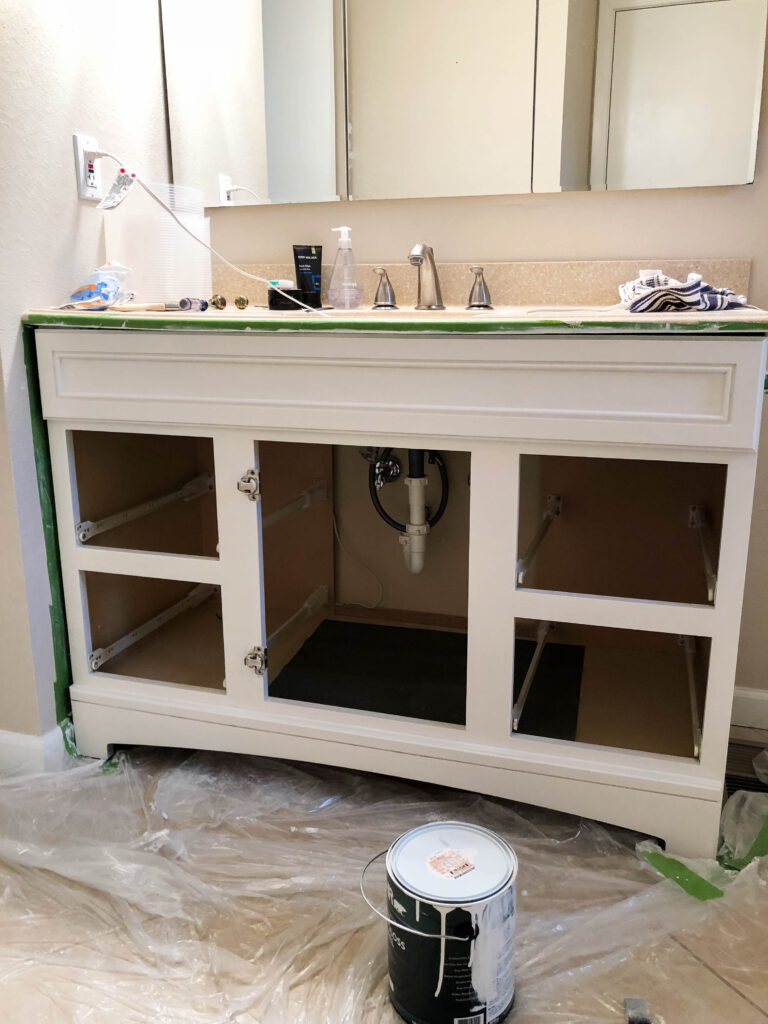
Step 8: Once everything was dry, we put the drawers back on and added the new hardware. We waited about 3 more days before fully moving back into this bathroom, just to be on the safe side.
Before/After
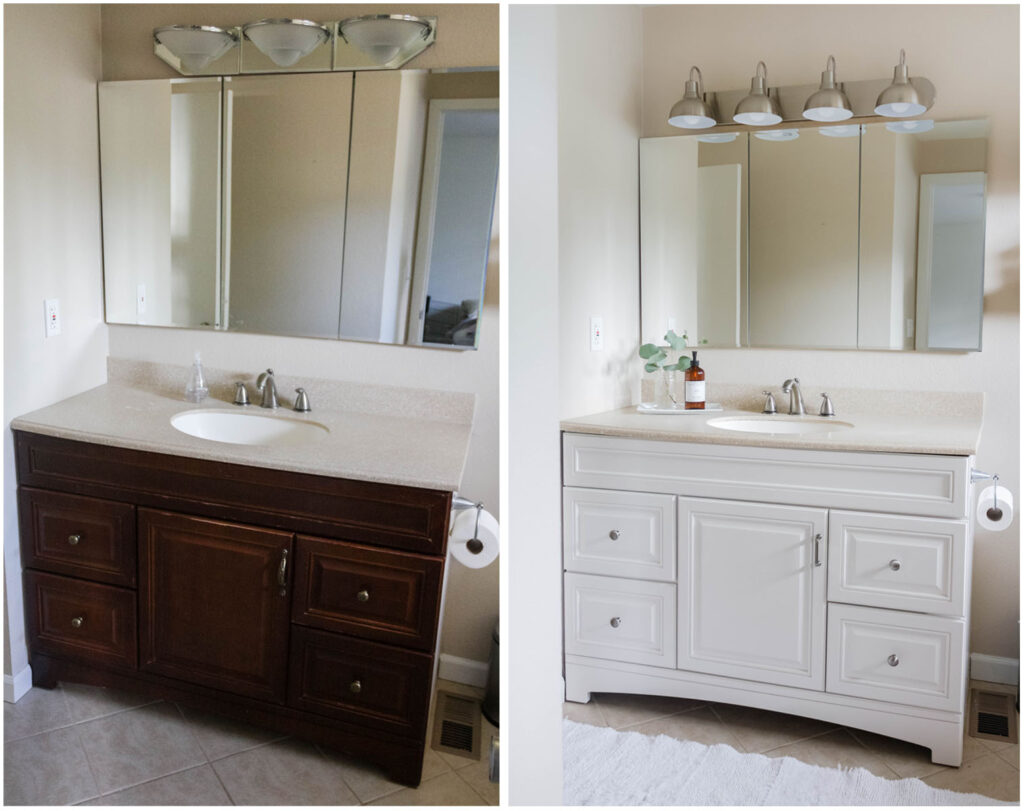
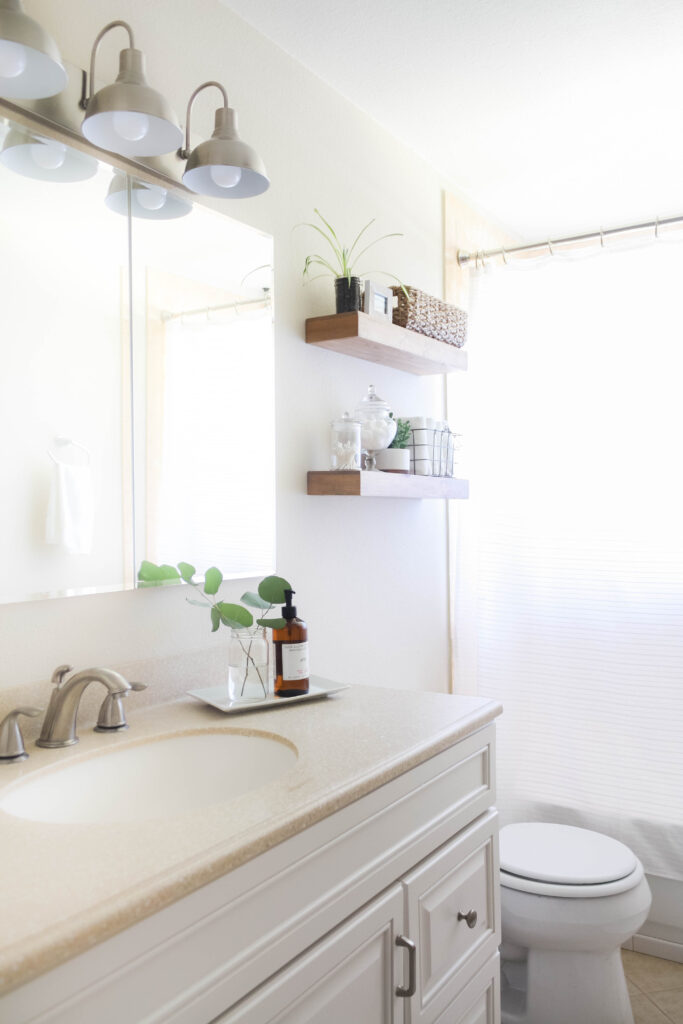
light fixture, floating wood shelves

We are so happy with the results! It is a whole new room. So much brighter, and cleaner! Have you ever attempted a budget bathroom makeover? Would love to hear what you think!
Xx,
katie
[show_shopthepost_widget id=”3181229″]
SaveSaveSaveSaveSaveSave
SaveSaveSaveSave
SaveSaveSaveSave
SaveSave
SaveSave
SaveSave
SaveSave
SaveSave